Sunday, February 26, 2012

Buffalo Chicken Dip

The most addicting dip that I've ever tasted... after many recipes and tweaks, this is the best!

Buffalo Blue Cheese Chicken Dip

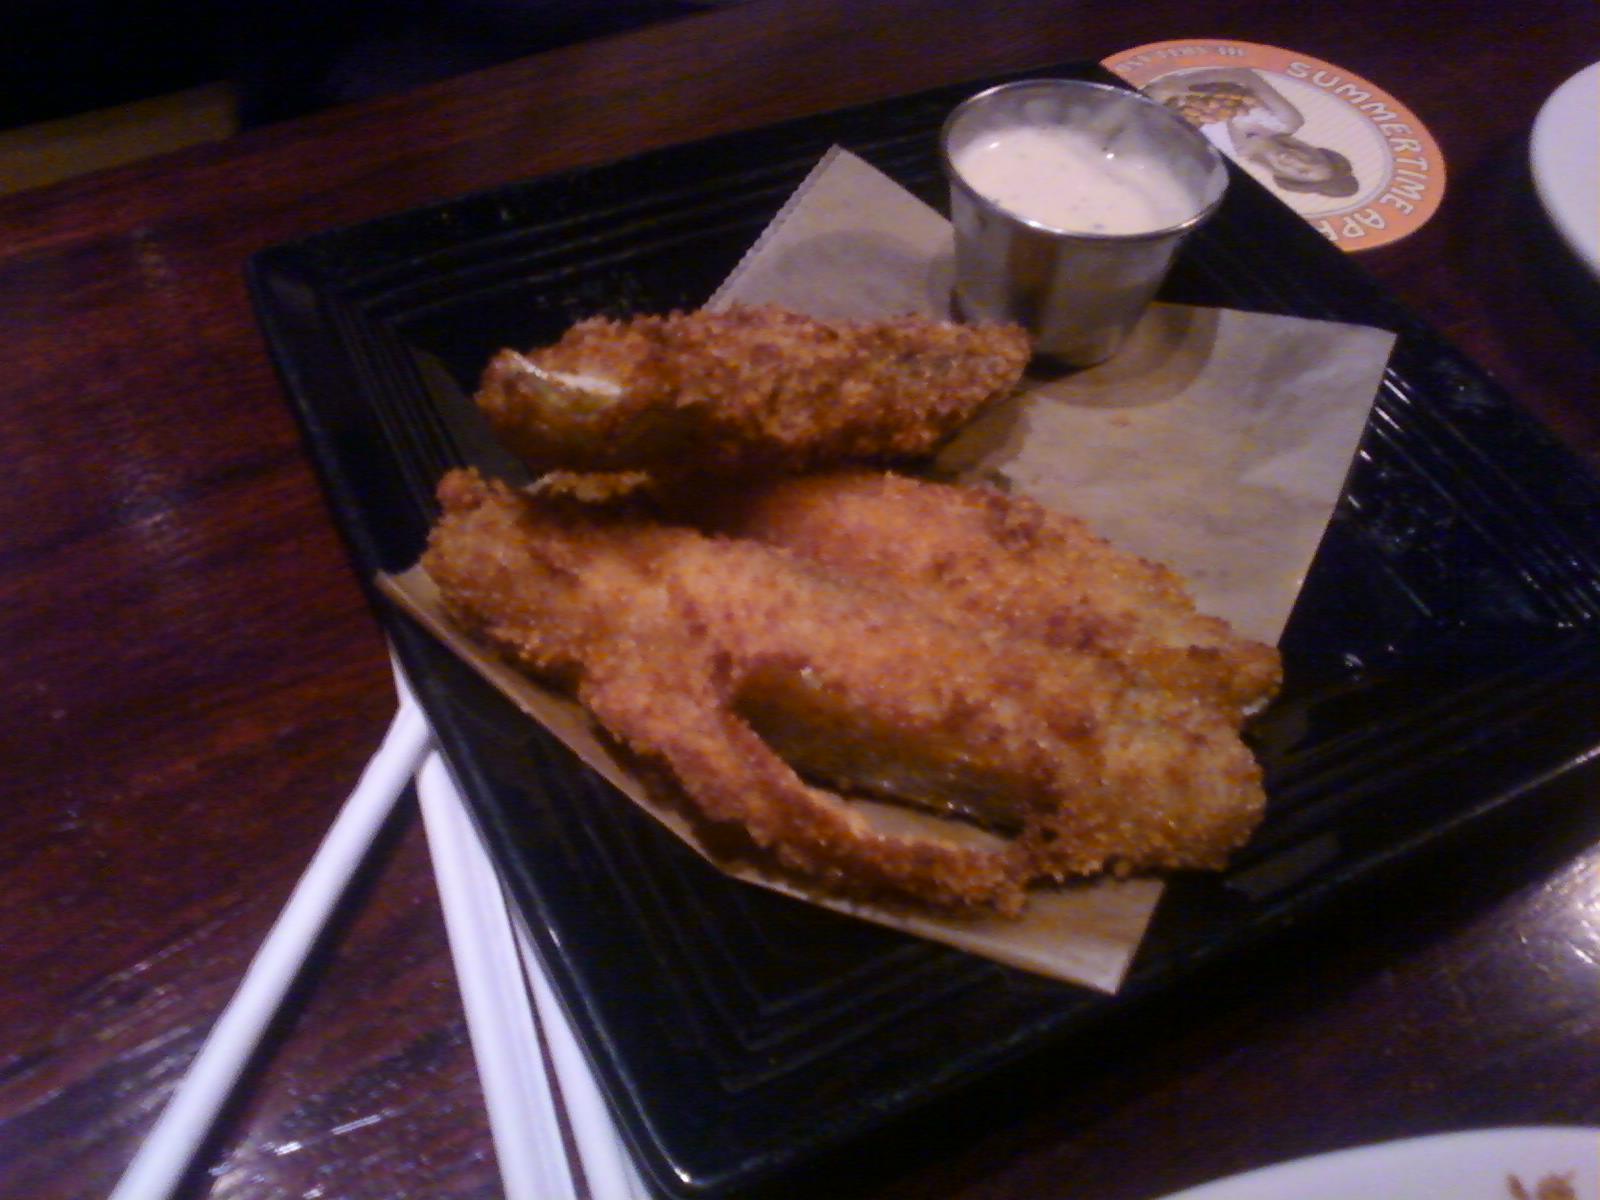
And yes, I know that my camera phone does not do it justice! Onto the recipe:

-A deep baking dish that is oven safe
-2 cooked pieces of chicken (More or less depending on how much you like chicken).  Many say boneless skinless chicken breasts are the best.  However, I like to cook two chicken drumsticks with the skin on.  I peel the skin off once the chicken has finished cooking.  This way, the chicken will stay juicy from being on the bone, and have nice flavor from the skin.
-12 oz cream cheese (this is a base, once again you can use more or less, but this is what worked for me).
-1/4 cup blue cheese salad dressing (more or less depending on how much you like blue cheese, but this is a good amount to start out with... Remember, you can put more blue cheese in, but it is much harder to take it out!)
-1/4 cup ranch salad dressing (depending on how much you like ranch dressing, you can also substitute this for the blue cheese dressing, and vice versa).
-1/4 cup blue cheese crumbles (cheddar cheese works too.. and I put in much more than 1/4 cup because I love blue cheese)
-Franks Red Hot Buffalo Wing sauce, as much as you want! Just pour and taste like a true chef ;P
-Fritos and celery for dipping.

-Optional:
-Grated cheddar cheese and panko bread crumbs to make a nice and crispy topping for the dip.

Directions:
-Preheat the oven to 350 degrees F.
-Soften the cream cheese
-Shred the chicken
-mix everything together in a deep, oven safe baking dish
-Sprinkle optional cheddar cheese and bread crumbs over the mixture
-Taste and make any adjustments, I added more hot sauce and blue cheese!
-Bake for 20-30 minutes (every oven is different)!

Wednesday, February 22, 2012

Obsessed with cooking (ice cream sandwiches, scotch eggs, and fried oreos)

I've decided to stop going out to eat in favor of learning how to cook all of the foods that I love, and and I am broke and hopefully I will save some money.. so onto the recipes!

All of these dishes are actually inspired by items that I ate off of menus at different restaurants... A few weeks ago I went with some friends to a place called Piper's Pub in South Side.  I never thought that I would be a fan of Scottish cuisine but everything was delicious! For dessert we had a shortbread ice cream sandwich.  I automatically tried to make something similar the next day... The result is below: 


Ooey Gooey Ice Cream Sandwiches

These are actually NOTHING  like the ice cream sandwiches that we had at Piper's Pub.. I got a little bit carried away and basically created my own.. but they are still delicious in their own way:

-Keebler Fudge Stripes Original Cookies
-Any kind of ice cream that you want (I used cookies and cream)
-Hot fudge sauce
-Natural salted peanut butter

1) Place two cookies fudge stripe side down on a plate
2) Put the hot fudge sauce (while room temperature or cold), on the up side of the cookie, and the natural peanut butter on the other side of the other cookie.
3)Put ice cream on one of the cookies
4)Pick the other cookie up and put it ice cream side down on top of the peanut butter/hot fudge.
5) Squish them together (but not too hard)!
6)Put them in the freezer to chill or eat them right away!

I can't believe I just gave six step instructions on how to make an ice cream sandwich... this is why I decided not to be a teacher!

The first (and BEST) thing that we had to eat at Piper's Pub was their SCOTCH EGGS.  I had never even heard of these before.  But after eating them, I kept craving them for days on end.  I finally decided to venture out of my cooking comfort zone and work with eggs, which opened the door to a whole new world of cooking options!  Hard boiled eggs, deviled eggs, poached eggs, over easy, over hard... so many possibilities.  Anyway, onto the actual recipe!

Scotch Eggs!

 
-Six hard boiled eggs
-1 lb pork sausage meat (I think I used Jimmy Deans sausage with sage)
-2 tsp Worcestershire sauce
-1 tablespoon all-purpose flour (plus more for dusting)
-1/8 teaspoon salt (or more)
-1/8 teaspoon ground black pepper (depending on how much you like pepper)
-1 egg, beaten
-2/3 cup dry bread crumbs (I used panko)
-Various other seasonings for the bread crumbs (I used garlic powder, paprika, Parmesan cheese, and some parsley) season to taste.
-Canola/vegetable oil for deep frying.
-Hot sauce, mustard, or any other condiments to eat with the scotch eggs (hot sauce is my favorite).

1) Hard boil the eggs... after much effort, on my third try I was able to cook the eggs perfectly without those ugly greenish/brown rims around the yolk (however, even if you DO see rims, the eggs are still edible and still taste good, they are just overcooked):
-cover eggs in cold (or room temperature) water in a sauce pan that is just big enough to hold all of them without touching.
-Turn the burner up to high heat
-start a whirl pool with your spoon and make the eggs spin.  This will help the yolks to set.
-After the water has been at a rolling boil for 1 minute, turn off the burner and remove the sauce pan (with the eggs and water still inside) to a burner that has not been heated up.
-cover the pan with the water and eggs still inside and let sit for 12 minutes.
-when the 12 minutes are up, drain the eggs and crack them slightly, then immediately put them in cold water and into the freezer (some people put them into an ice bath, but it works just fine if you put them in the freezer).  Slightly cracking the eggs beforehand keeps them from cooking any longer because the cold water gets underneath the shell (no yucky green color!)
-Check on the eggs after 5 minutes, if they have completely cooled down, then you can drain them again and put them in the refrigerator.  Refrigerate for at least 2 hours before serving.
-The eggs will stay fresh for up to 2 weeks IF you leave the peels on.
-Run eggs under water to make the peeling process easier.


Prepare to assemble the eggs:
-Prepare the breadcrumb mixture in a bowl by mixing the breadcrumbs with whatever spices you enjoy.  I used garlic powder, paprika, salt, pepper, Parmesan cheese, and parsley. 
-In a separate bowl, combine the sausage meat and Worcestershire sauce
-In another bowl, combine the flour, salt, and pepper
-Mix the flour mixture into the sausage mixture.  I also added some garlic powder and more sage.
-Prepare one additional bowl with a beaten egg
-Peel the hard boiled eggs if you haven't already (run under warm water to make peeling easier).

 Finally, the fun part!
-Roll the peeled eggs in the flour.  This will help the sausage mixture stick.
-Begin to roll the sausage around the eggs.  You can use a little bit or a lot! Just make sure that the eggs are completed coated.
- Next, dip the sausage coated eggs into the beaten egg mixture.  Shake off any additional egg mixture.
- Roll the eggs in the breadcrumb mixture until fully coated.
- Put Canola or vegetable oil into a skillet/frying pan/sauce pan, and turn on the burner to medium/ high heat (or 375 degrees)
-Test the heat by throwing a breadcrumb in.  If it browns after a minute, you're in business.
-Put the eggs in and turn after 2 1/2-3 minutes.
-Check on one egg to see if it is cooked by cutting through the egg.
-If it isn't, you can finish it off in the oven for 5-10 minutes at 400 degrees.  My eggs were perfectly fried so I did not have to bake them.


I am very proud of myself for making perfectly hard boiled eggs and learning how to fly without a deep fryer!

And lastly... Fried Oreos!


These are super easy to make! I don't have a deep fryer and just made them using vegetable oil in a skillet...

-1/2 cup Bisquick
-1/2 cup milk
-9 oreos, or 18 mini oreos
-Canola or vegetable oil for frying

1) Put vegetable oil in the skillet and turn it up to high
2)Whisk together Bisquick and  milk
3) Coat Oreos with the mixture
4)When the oil begins to bubble lighty, drop the oreos in
5) Check on the oreos periodically, and turn once, after the bottoms are the color of funnel cake

Yummy! Just make sure to eat them while they are still hot! They are not very good at room temperature...


Well that's all for now... I have all kinds of food plans for this weekend!


Tuesday, January 24, 2012

I'm baaaaack

A lot has happened since I last updated... I have moved to Pittsburgh, finished my first semester of grad school (just 3 more to go!), pulled various all-nighters (by choice and by circumstance) and had time to try out lots of different recipes and restaurants, among other things! But I'll leave it at that..

Since it's been so long.. I'm just going to post a bunch of pictures, so here we go!

The first picture features my favorite thanksgiving food EVER.. Homemade crescent rolls. This past thanksgiving was the first time that I made them all by myself... I will have to post the recipe at a later time because it is at my parents' house.


 Taking a break from the food theme.. I got these wonderful Blank cards from the Warhol Museum... Free admission with a Pitt ID! The Pitt ID is like a VIP pass.. free bus access, free museums, etc... my only complaint is that bars aren't included.  Pittsburgh is crazy expensive! So its the LEAST that they can do! ;P


Going back to food (how can I resist).  This is one of my favorite pasta recipes.  It is super easy to make.  All you need is pasta, olive oil, lemon juice, basil, and feta cheese.  Like a true chef, you don't need to measure the ingredients.  Just keep tasting and adding until it tastes good!  I can't even remember how many times I've made this.

Yummmmmy!

My birthday just passed recently (The Big 2-5!) and my friend Christina painted this beautiful picture for me.  She is extremely talented.  You should check her out! Seriously, I am so jealous of her artistic abilities...   http://www.etsy.com/people/waterforhearts?ref=si_pr

And a Christmas gift from my parents.. I couldn't help it, I had to post this.  Michael Kors! <3

A recent obsession... nail polish.. ever since I saw a friends collection last weekend, I just went crazy.  This is total bling bling.  It's Milani Jewel FX GEMS.


Today after sitting through 3 hours of class, I decided to be spontaneous and try a recipe that I've been thinking about forever, bacon wrapped dates stuffed with gorgonzola cheese.


 Ingredients:
All you need is bacon, medjool (or any other brand) dates, and gorgonzola cheese.  You will need differing amounts depending on how many you want to make.  I made 10 stuffed dates using 10 Medjool brand dates (they are pretty big!), 5 pieces of bacon, and less than a quarter lb of gorgonzola cheese  Remember, gorgonzola cheese is STRONG!

Directions:

1. Preheat oven to 375 degrees F.
2. Wash the dates and cut them halfway open the remove the pits.
3. Stuff the dates with gorgonzola cheese depending on how much you like the stuff.  Blue cheese and goat cheese are also good alternatives
4. Wrap bacon around the dates.  Secure the bacon with a toothpick or put the closure on the bottom.
5. Cook for 20- 30 minutes.

 Thats all for now!

Wednesday, July 27, 2011

What I have been up to lately and Red Lobster Cheddar Biscuits

I haven't really told anyone about this blog yet so I guess I should...

I've had an eventful past few weeks, once I have an actual camera I will make much more of an effort to take pictures.  Until then, you will have to let my eloquent literary tour de force tell the story for you ;P

I went to New York with my parents and cousin who was visiting from Kansas.  We went to the Statue of Liberty, the Empire State Building, and Times Square.  I have to admit, I love doing those so called touristy things, even though I've done them all a few times before.  As we were leaving, we decided to go to a random brewery AKA beer and fried food overload, I have no regrets in saying that it was absolutely amazing!

Fried pickles


Cheese fries

and we finished it off with some apricot wheat beer.. a perfect beginner and chaser to all of the fried food!

The next weekend, I went to Pittsburgh to visit friends, register for classes, figure out my field placement (another word for internship), and see my new apartment.  For those of you who don't know, I am moving to Pittsburgh to attend the University of Pittsburgh for my MSW in less than a month! I am very excited. 

My friend showed me around and we actually went to the gym (even though what we ate afterwards was completely counterproductive)! It has a cinema room that shows movies as you work out.  It is pretty awesome.  We also went to this really cool bar named Haufenbraus (I think that's how you spell it) and got some amazing beer and german food:

Potato Pancakes with applesauce and sour cream.


beer cheese blend dipping sauce (the best) I can't remember what the other dipping sauces were.  They were all for...

This HUGE soft pretzel, so good!

We also went to the melting pot.  I wish I could live there.

Wisconsin cheese fondue <3


Moving on, I registered for classes the next day and was very productive despite the total food hangover.  I have an amazing class schedule with all of my first choice classes and no classes on Thursday or Friday.  I'm doing my placement at Fresenius Dialysis Center.  My apartment is also really nice, I can't wait to post pictures after I have it all set up.

Last weekend I relaxed, went to a pool party, started reading The Help by Kathryn Stockett, and made these Red Lobster inspired cheddar biscuits:


The recipe is super easy, and the biscuits taste EXACTLY like the ones from Red Lobster! all you need is:

1 small bag of the bisquick cheddar biscuit mix
1/2 cup water
3/4 cup shredded cheddar cheese (if you're not a big cheese fan, put in less)
1/2 stick of butter
1/4 teaspoon of salt
1 teaspoon of garlic powder
dried parsley or basil to sprinkle on the top

Preheat oven to 400 degrees farenheight
Line a tray with parchment paper or else they will stick!
Combine biscuit mix, water, and cheese.  Add a little bit more water if it is still dry.
Put biscuits in oven for 5 minutes
As you're waiting for the biscuits to bake, add butter, salt, and garlic powder to a sauce pan.  Melt and stir until combined.
After the biscuits have been in the oven for 5 minutes, take them out of the oven and spoon the melted butter/garlic/salt mixture over each one.  If you have a pastry brush, brush the mixture over the biscuit.
Sprinkle dried parsley or basil over the biscuits.
Put in the oven for at least 5 more minutes and continue to check on them until they are lightly browned.

Makes 6 large biscuits.

Wednesday, July 6, 2011

Recipes!

So I suck at updating..

I made a goal to make at least one recipe a weekend.. here is what I have been up to for the past few weekends. Enjoy the food porn oops I meant culinary delicacies!

Chocolate Peanut Butter Layered Cupcakes:


Review: These are AMAZING! I added more peanut butter and sugar because I am addicted. I also put chocolate and peanut butter chips in the batter so that they were scattered throughout the cupcake. They were gone in less than a day because my family devoured them.

Recipe:

This recipe was adapted from jif.com. If peanut butter is your crack, then this website is totally enabling and a major trigger. You've been warned!

Here we go:

Ingredients

  • 1-1/2 cups All Purpose Flour
  • 1/2 cup HERSHEY'S Cocoa (depending on how chocolaty you want it, I made mine extra chocolaty!)
  • 1 cup packed brown sugar
  • 1 teaspoon baking soda
  • 1/4 teaspoon salt
  • 1/3 cup Vegetable Oil
  • 1 cup water
  • 1 tablespoon white vinegar
  • 1/2 teaspoon vanilla
  • 1 EGGLAND'S BEST egg
  • 1 package (8 oz.) cream cheese, softened
  • 1 1/4 cup Creamy Peanut Butter 
  • 1/2 cup granulated sugar 
  • 1/3 cup powdered sugar
  • 1 cup Peanut Butter Chips
  • 1 cup Semi-Sweet Chocolate Chips

Directions

  1. Heat oven to 350°F. Place paper baking cup in each of 18 regular-size muffin cups.
  2.  In large bowl, mix flour, cocoa, brown sugar, baking soda and salt. Add oil, water, vinegar and vanilla to flour mixture, stirring just until smooth (do not overmix).
  3.  In another large bowl, beat egg, cream cheese, peanut butter and granulated sugar with electric mixer on medium speed until smooth. Add powdered sugar; beat until creamy.
  4. Sprinkle chocolate and peanut butter chips into both chocolate mixture and peanut butter mixture 
  5.  Spoon 1 level tablespoon chocolate batter into each cup; evenly spread 1 level tablespoon peanut butter filling on top. Repeat layers. Sprinkle tops with peanut butter chips and chocolate chips.
  6. Bake 25 minutes or until toothpick inserted in center comes out clean (do not overbake). Cool in pan 15 minutes. Remove from pan to cooling rack; cool 15 minutes. Serve warm or cool. 18 cupcakes.

Chocolate Peanut Butter Pie with Pretzel Crust


Review: This recipe was adapted from Evilchefmom. As with the other recipe, I added more peanut butter and sugar and could definitely taste it.  If you like sweet things, this is for you.

Recipe:

http://www.evilchefmom.com/2010/06/chocolate-peanut-butter-pie.html

Pretzel crust:

2 1/4 c. finely crushed pretzels
1/2 c. & 1 tbsp. sugar

1 c. & 2 tbsp. melted butter (or butter)

Combine all ingredients, mixing well. Press firmly on bottom and sides of 9 inch pie pan. Bake at 350 degrees for 8 minutes. Cool.

Orange Biscuit Bundt Cake


Review: I have to say I was a little bit disappointed by this recipe. It tasted... kind of dull. Can something taste dull? I need to brush up on my top chef episodes to come up with a more EXTENSIVE vocabulary ;P It would have been much better with homemade biscuits.  At least the cake looked pretty!

Recipe:

Adapted from Better Homes and Gardens
 
Ingredients:
 
1 1/4 cups sugar
1 tablespoon shredded orange peel
1/3 cup orange juice
1/4 cup melted butter
2 10 oz packages refrigerated biscuits

Directions:

1. Grease a 10-inch fluted tube pan. Set aside

2. In a small mixing bowl, combine sugar and orange peel (be sure to break up any orange peel clumps). In another small mixing bowl, combine orange juice and melted butter.
3. Separate biscuits. Dip each into the orange juice-butter mixture. Then roll in the sugar-orange peel mixture.
4. In the prepared pan, arrange the biscuits upright with flat sides together. Pour any remaining orange juice-butter mixture over biscuits. Bake in a 375 degree F oven for 30 minutes. Cool in pan on a wire rack for 1 minute. Turn pan upside down on a serving plate. Remove the pan. Cool for 30 to 45 minutes. Serve warm. Garnish center of ring with orange peel strips and fresh herbs, if you like. Makes 10 servings (20 biscuits).

Flatbread with bacon, onions, creme fraiche, and scallion pesto.


Review: Pretty good, but I would recommend adding WAY more bacon and less parsley.  I didn't even know that creme fraiche existed before but now I highly recommend it.

Recipe:
4 thick strips bacon, thinly sliced
1 large white onion, thinly sliced
dash of sugar
salt and white pepper
6 scallions (also called green onions, I never knew!), thinly sliced
1 tablespoon capers
1/4 cup fresh parsley
Grated zest of 1/2 lemon
1/4 cup extra-virgin olive oil
1/3 cup creme fraiche or sour cream
1 pound frozen pizza dough, thawed
All-purpose flour, for dusting

Directions:

Preheat the oven to 450 degrees. 

Roll the pizza dough into an 8-by-14-inch rectangle on a lightly floured surface. Roll the dough around the rolling pin and unroll it onto a baking sheet lined with parchment paper. Place in the center of the oven and bake for 10 to 12 minutes, or until golden brown.  Do this before you get the other ingrediants ready.  It will need to be completely cool before you can add anything or else it will melt the creme fraiche.

Cook the bacon in a large skillet over medium heat, stirring from time to time, until browned and crispy. Transfer to paper towels to drain; keep warm. Add the onion slices to the drippings in the skillet; sprinkle with the sugar and season with salt and pepper. Cook until light brown and tender, 5 to 7 minutes. Taste for seasoning.

Combine the scallions, capers and parsley in a food processor. Add salt and pepper to taste and half of the lemon zest; pulse gently to chop and blend. Turn the processor on and add the olive oil through the top in a steady stream. Transfer the scallion pesto to a bowl; set aside.

In a small bowl, whisk the creme fraiche and the remaining lemon zest until smooth. Season with salt and pepper; set aside.

Spread the creme fraeche mixture on the crust. Dot with the onions and some of the bacon drippings from the pan; sprinkle with the bacon. Slice into pieces and drizzle with scallion pesto.


Most of these recipes are stored in my personal tastebook.  Tastebook condenses the recipes from practically every food site in existence. Also, if you get 10 new people to join, you get to create your own FREE tastebook!

Next weekend:

Hazlenut truffles and red lobster inspired cheddar biscuits!

In the near/far future:

Scrapbooking! I have MOST of the materials for it after a binge buy at Joannes Fabrics, but I don't even know where to start!

Monday, February 21, 2011

Soo...

I've had this blog for a really long time and it is definitely time to update.  I love to cook and people are always asking me for my recipes so I thought it would be fun to post them all on here.  Since I'm talking about food, why not focus on other types of art too, like fashion? And of course the greeting cards that I am obsessed with making, and other fun, crafty things.

So stay tuned!

-ch